Cement Roofing Sheets
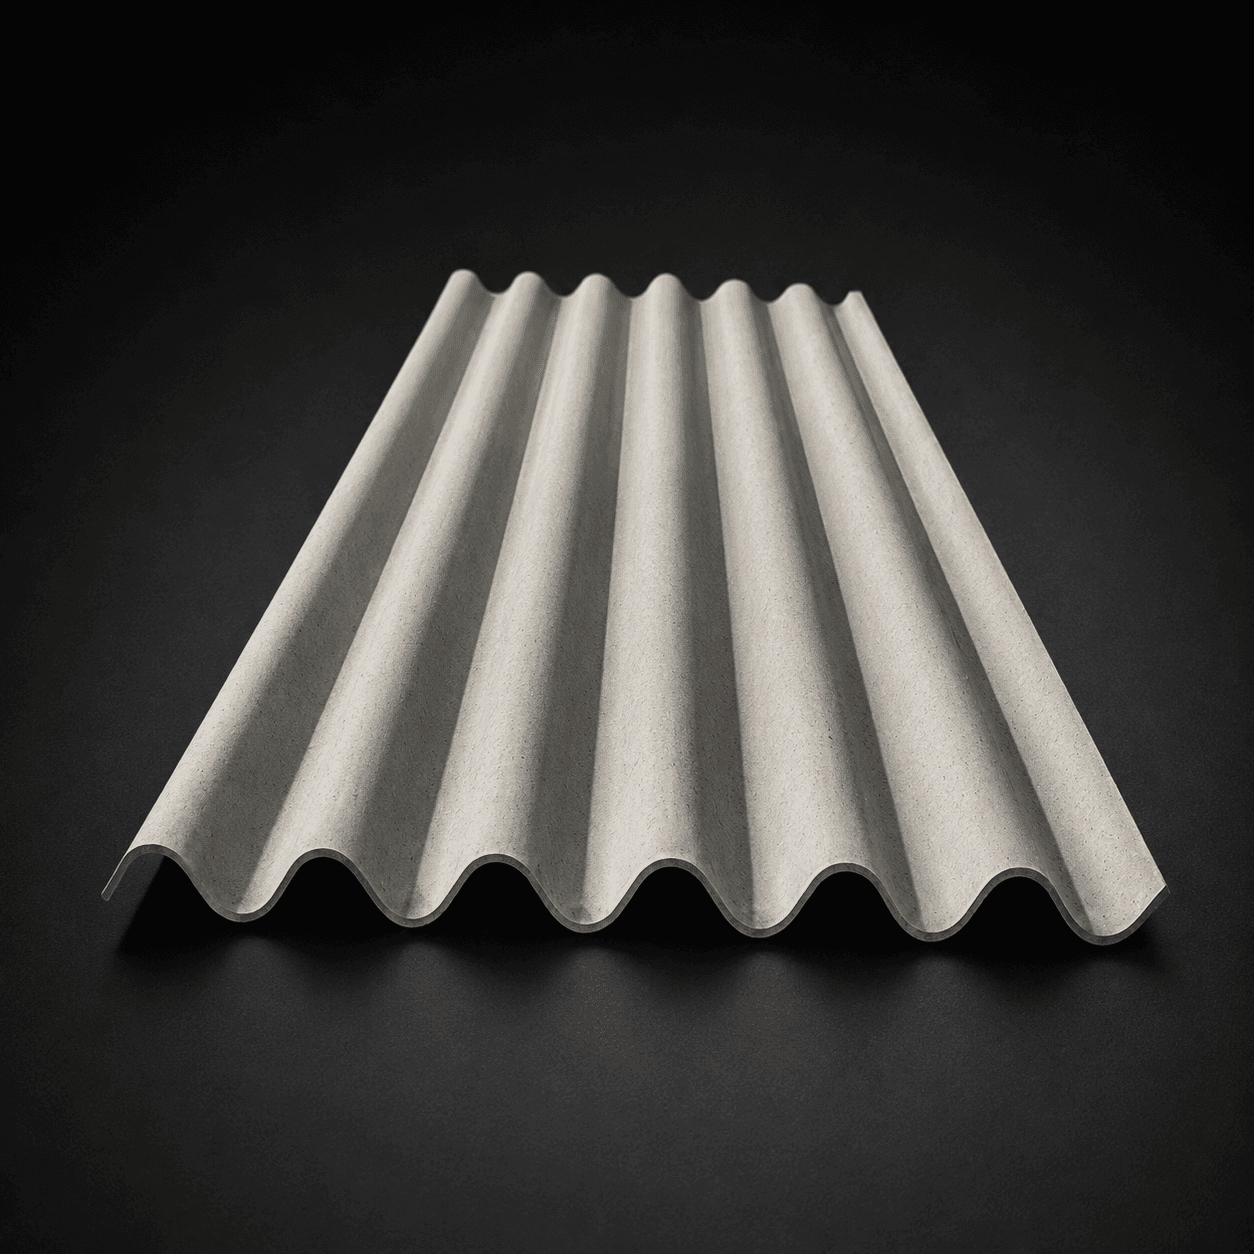
Corrugated fibre cement sheets for industrial sheds, warehouses and farm structures. High load strength, fire-resistant and low maintenance across long spans.
- Industrial profile
- Plain & standard variants
- 6mm nominal thickness
Technical data
- Standard lengths (metres)
- 3.00, 2.75, 2.25, 2.00, 1.75, 1.50
- Maximum unsupported overhang
- 300 mm
- Thickness
- 6 mm
- Maximum purlin spacing (roofing)
- 1.4 m
- Maximum rail spacing (vertical cladding)
- 1.7 m
- Depth
- 48 mm
- Section modulus
- ZB: 75 cm³ · ZT: 85 cm³
- Moment of rupture
- 200 kg/cm²
- Overall width
- 1050 mm
- Effective width
- 1010 mm
- Running metres per tonne
- 78 (approx.)
- Minimum end lap
- 150 mm (for slopes of 18° and above)
- Colour
- Light Grey
Tolerances (mm): +5 / -10, +Free / -0.5, +6 / -2, +3 / -5, +10 / -5, +10 / -5
Sizing for the least waste
A quick method to work out sheet counts and lengths with the least waste.
For roofing
- Take the slope length as L metres.
- Sheets needed: N = (L − 0.200) ÷ 2.8, taken as a whole number.
- Greatest lap loss: M = (N − 1) × 0.200 metres.
- Longest sheet required: P = L + M, i.e. L + (N − 1) × 0.200, rounded up to the next multiple of 0.25.
- With P fixed, size the sheets while holding the count at N, and confirm the slope is still covered by (P − 0.25).
- Keep the number of purlins within K, where K = (L − (a1 + a2)) ÷ 1.40 + 1 (a whole number); a1 and a2 are the distances, in metres, between the eaves purlin and the eaves edge.
For wall cladding
- The most economical length is 1.75 m, which allows a rail spacing of 1.6 m.
Estimating
For both roofing and wall cladding, the number of sheets in a row is N = (L − 0.04) ÷ 1.01, taken as a whole number, where L is the length of the shed in metres.
Ridges, finials & fittings
Close Fitting Adjustable Ridges
AVS2Closes the roof at the ridge.
Apron Piece
AVS2Covers the angle between a sloping roof and vertical cladding or walling.
North Light Ridges
AVS5Covers the ridge of the roof's north light.
Barge Boards
AVS6/6Covers the verge of a roof or the corners of cladding.
North Light Curve
AVS9Covers the curve of the roof's north light.
Serrated Adjustable Ridges
AVS10Closes the roof at the ridge.
Roof Lights
AVSLets daylight in through the roof.
Ridge Finials
AVS11Closes the ends of the ridge.
Ridge Finials
AVS7Closes the end of the ridge-line; works only with AVS2 ridges.
Estimating & fixing
Estimating roofing accessories
The covering capacity of these accessories follows the width of the sheets. Estimate quantities as:
- 1All ridges - counted in pairs.
- 2North light curves - by number.
- 3Apron pieces - by number.
- 4Eaves filler pieces - by number.
Laying the sheets
Follow IS 3007:1964 (code of practice for laying non-asbestos cement corrugated sheets):
- 1Before starting, check purlin spacing against sheet length so the layout gives the required end lap (at least 150 mm), the allowed eaves overhang (up to 300 mm) and the ridge overhang (around 75 mm).
- 2Lay every sheet with its smooth face to the weather.
- 3Working left to right, begin at the eaves: set the first sheet with the downward corrugation on the left and the upward corrugation on the right, so the next sheet's downward edge seats over it.
- 4The following sheet is mitred at its bottom right-hand corner before fixing.
- 5Fix the rest of that course, including the ridge sheet, in the same way.
- 6Begin the next course with a sheet mitred at its top left-hand corner, keeping a side lap of at least half a corrugation.
- 7Continue with sheets mitred at both the top-left and bottom-right corners.
- 8At the ridge, use a sheet mitred at the bottom right-hand corner.
- 9Where four sheets meet at a lap joint, mitre only the two intermediate sheets; sheets that do not overlap four-ways are fixed without mitring.
- 10Run the bolt through the second and the last corrugation, so successive bolts sit 279.4 mm apart.
- 11For 8 mm hook bolts (to IS 730:1978), drill - never punch - a 10 mm hole at the crown of the corrugation.
- 12Always fit a bitumen or GI washer under the bolt, and do not overtighten.
- 13Fix the sheets to the intermediate purlins with hook bolts.
- 14Cut or mitre only with an ordinary carpenter's handsaw.
- 15Use a cat ladder while working on the roof, for safety and a cleaner result.
Fixing serrated adjustable ridges
- 1Start at the right-hand edge and lay a few inner rolls (R1) so they sit flush with the full sheets in a straight line.
- 2Lay the outer rolls (R2) on the opposite slope, running in the same direction as R1, so the small serrations rest on the side lap of the sheets - giving a snug fit over the roofing and staggered joints between R1 and R2.
- 3Secure the ridge with the same bolt used for the roofing sheets at the right-hand purlin.

Send a drawing or a BOQ. Get a quote that holds.
Share your spec and site location. You will get an itemised quote with brand, grade and a delivery window you can plan around.